All Categories
Featured
Table of Contents
- – Travel Trailer Floor Repair Anaheim, CA
- – OCRV Center
- – Travel Trailer Service Anaheim, CA
- – Trailer Floor Repair Anaheim, CA
- – Trailer Roof Repair Anaheim, CA
- – Travel Trailer Roof Replacement Anaheim, CA
- – Cargo Trailer Repair Anaheim, CA
- – Travel Trailer Floor Repair Anaheim, CA
- – Travel Trailer Floor Repair Anaheim, CA
- – Travel Trailer Furniture Anaheim, CA
- – Cargo Trailer Repair Anaheim, CA
- – Rv Trailer Repair Shops Near Me Anaheim, CA
- – Cargo Trailer Repair Anaheim, CA
- – Cargo Trailer Repair Anaheim, CA
- – OCRV Center
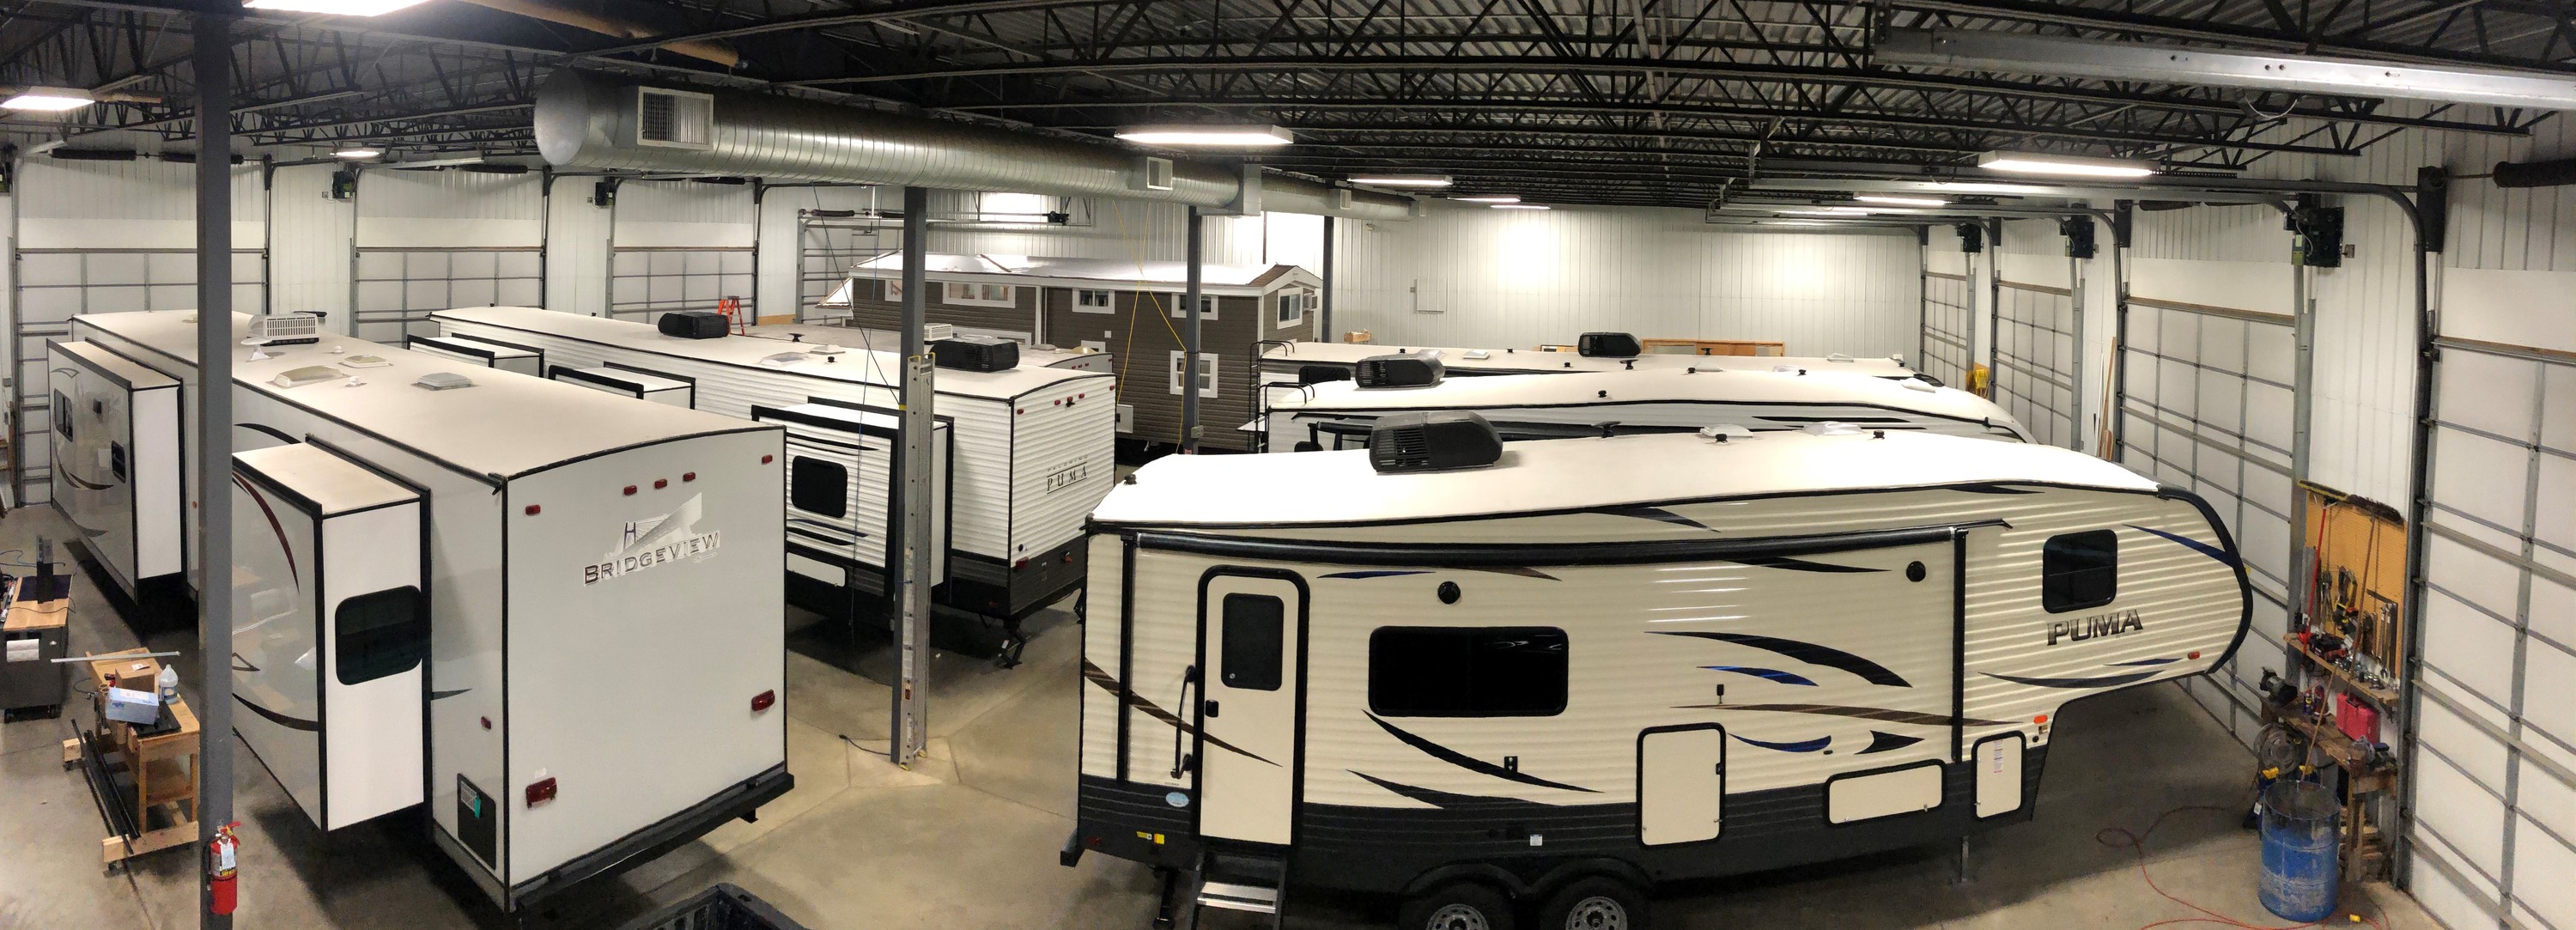
Travel Trailer Floor Repair Anaheim, CA
The only way to deter a break down when driving is to keep your recreational vehicle kept, with high quality replacement components and specialist mechanics. Don't run the risk of a detour on your following vacation; bring your motorhome to Dawn Full Vehicle Service, Inc. for any and all of your repair service and upkeep needs.
As long as common upkeep and fixings are dealt with, there should be little to no concerns in any way. To enhance awareness, we decided to include a listing of common upkeep and upkeep suggestions for your RV/trailer below! If you have any type of inquiries, just visit the shop or give us a phone call right here at Dawn Full Auto Solution, Inc.
You need to lubricate ramp door hinges with Lithium grease. Occasionally oil the ramp door extension. Examine the huck screws occasionally. If you detect a loose huck bolt fastener, do not tow the trailer. Call your dealership for directions. Huck bolts are not end-user serviceable. Going out RVing is a trip and an experience rolled right into one so before going out, make a visit to have your RV serviced.
Travel Trailer Service Anaheim, CA
Replace your tires at the same time so you are mindful when they need to be changed again. Periodic evaluation and upkeep of your RV and trailer tires and wheels are essential to towing security, consisting of extra tires.
Make certain connector-plug prongs and receptacles, light bulb sockets, cable splices, and ground connections are clean and protected from wetness. Lightly coat all electric terminal connections with non-conducting (dielectric), light waterproof oil.
Trailer Floor Repair Anaheim, CA
The link point may call for routine lubrication to allow complimentary activity of the coupler to the hitch sphere. Our task at Sunup Total Automobile Solution, Inc. in Philadelphia is to aid you take a trip securely and these motor home tips we feel are a great way to aid you with your motor home ownership.
High winds will certainly impact your motorhome or Recreational vehicle even more than it will an auto. A car like a motorhome is much less prone to skidding than a car because of its lower facility of gravity, but at the very same time, it is much more challenging to manage if it goes into a skid.
Trailer Roof Repair Anaheim, CA
A panel, generally beneath the slide out, gives you full access to the container. Your coach may be furnished with a 60-lb./ 14-gallon tank. One pound of lp creates 36 cubic feet of gas. You can expect to make use of a number of gallons of LP a week in cozy weather condition and even more if it's cold and the heating system is operating.
When winter comes around and camping season is over, what do you do with the Motor home? You have some duties to do if you want to use your Motor home once more in the spring.
We suggest you adhere to these treatments for keeping your Motor home or that you bring it to Sunup Full Vehicle Service, Inc. in Philadelphia for winterizing. This consists of everything in the cupboards and the fridge also that little container of mustard in the back corner of the refrigerator.
Drain thoroughly all water storage tanks, holding storage tanks, lines, and pumps to stop damages to the Recreational vehicle's water system. A lot of camping areas have dump terminals you can make use of for a tiny fee.
Travel Trailer Roof Replacement Anaheim, CA
Utilize a safe Recreational vehicle anti-freeze to maintain any continuing to be water from freezing in the system. Placed some Motor home anti-freeze in each drain.
While it is necessary that any kind of vehicle be risk-free and roadworthy, the tone is heightened a little bit when your transport is bigger than the various other vehicles around it. An unit in poor repair work can send broken parts flying into windshields, stop other chauffeurs from seeing you in time to stop in an emergency, or put you and others at threat if you can't.
Cargo Trailer Repair Anaheim, CA
We can look after the checklist for you and make any repair services required to keep conformity. Specific points include checks of the framework, underbody, stopping system, secure inner condition, lights, glazing, and operating problems of doors. Whether you visit the countryside in your home far from home or carry the payload, allow Dave's Car and Vehicle Solution aid you with all your mechanical RV and trailer repair service needs.
Driving a Camper, Trailer, or motor home If you want driving a camper, trailer, or mobile home, likewise referred to as a RV, you might need a Class E or F motorist's license if the automobile's gross vehicle weight is 26,001 extra pounds or more. Signing up a Camper or Trailer Just certain kinds of campers or trailers that connect to vehicles need to be signed up and receive permit plates.
In order to title the trailer/camper you are called for to provide the receipt and previous title. If the previous title does not exist, you should finish the Sworn statement of Possession for an Automobile, Trailer, or Mobile Home (Kind TI-021A) and Car Identification Confirmation for Title without a Previous Title (Form TI-021B).
This is also the very same procedure for equine trailers that have living quarters. There is weight need for this plate. The registration fee for a camper that's hauled on a car is $10 every 2 years. You pay real estate tax on the trailer with your area before you might register the trailer.
Travel Trailer Floor Repair Anaheim, CA
The Energy Trailer plate is $10. Service Customer Trailers The Trailer permit plate is readily available for organization clients who own a semitrailer or pole, utility, or watercraft trailer.
The Trailer plate is $20 every 2 years. You pay residential property tax obligations on the trailer with your region before you may sign up the trailer. Signing Up a RV Signing up a rv, or RV, works the exact same as if you're signing up a regular traveler automobile. The enrollment charge for a RV, that you can drive without a lorry, is $40.
In order to title the trailer/camper you are called for to offer the proof of purchase or previous title.
nuCamp has actually been producing teardrop trailers and little campers because 2004, which puts us ahead of the tiny living fad. Currently is the excellent time to upgrade from outdoor tents camping. Our small trailers, little campers, and pick-up truck campers are designed to go off the grid, allowing you to discover off the beaten track and take the road less traveled.
Travel Trailer Floor Repair Anaheim, CA
Influenced by European impacts, our campers feature a modern-day appearance that will catch everybody's eye. These little, compact campers let you bring the conveniences of home on the road without compromising on quality. nuCamp's creator, Joe Mullet, has actually passionately cultivated a culture of genuine take care of both our staff member and the campers we craft for our valued customers.
Our dedicated group participants take terrific pride in supporting stability and pushing the limits of imaginative design. Every one of our campers is thoroughly handcrafted at our cutting edge manufacturing facility in Sugarcreek, Ohio. Quality and customer contentment are not just priorities, they are the essence of our job. Our unwavering mission is to develop phenomenal Motor homes for our remarkable clients.
Client service is at the core of RVRS! Our goal is to supply every consumer with the Courteous, Responsive, Personal interest they are entitled to!
Travel Trailer Furniture Anaheim, CA
High quality, worth, and development are the core worths that have been a part of the Gulf Stream Train way of operating given that it was started in Nappanee, Indiana, by Jim Shea and his boys. Today Gulf Stream Train is the market's leading family-owned, family-operated recreational vehicle supplier, incorporates 22 brands with over 140 various models all gave you by the most devoted and knowledgeable group of partners in the sector.
Making use of residential-style studs, spun fiberglass insulation, and aluminum house siding for time-honored resilience and economic climate, in sizes from 20 ft. to 41 ft., our Key Line trailers are for dedicated RVers that recognize what they want and recognize quality. Ideal for first-timers, value-oriented, and casual campers, combining economical pricing with tough yet light-weight go-anywhere building and construction.
Cargo Trailer Repair Anaheim, CA
Provides even more versatility with access to a smaller, second cars and truck for discovering and much more living room. Supplies the very best rent-and-go choice and enables simplicity when it pertains to establishing camp, just change the motor home right into park.
I have actually been camping with my wife and kids for 26 years! We have actually had 5 different campers including a pop-up, two various trailers, a plaything hauler and now a fifth wheel. I've done all my own upkeep throughout the years. A possibility came for me to go to RV specialist institution and I leapt at it.
Our solution location is a 60-mile radius of Millerstown, Perry County, PA. Give us a telephone call today. We come to you for very easy, convenient RV repair work and maintenance without having to leave the camping area.- Joe Hunker, Professional, Certified Motor Home Technology.
Rv Trailer Repair Shops Near Me Anaheim, CA
Page not discovered! Sorry the web page you are looking for might have been relocated or erased.
A True Gem in the Motor Home Fixing World The RV Store in Newcastle, DelawareAfter years of outdoor camping and taking care of our previous dealership, we assumed long waits and unsettled concerns were simply part of having a recreational vehicle. We were made use of to waiting weeks for visits, and even after 15 months, we still had the very same sticking around issues.
They asked if we wanted an appointment that week something that never occurred with our previous dealership. He made the entire procedure stress-free and constantly prioritized our needs and upcoming trips.
Among our greatest irritations was a collection of leakages we handled for a year leakages our previous dealership might never identify. Within a couple of days, The RV Shop found the beginning of the leakages in our slides. We couldn't believe it. We had an additional problem that had been going on for a while with our slide.
Cargo Trailer Repair Anaheim, CA
We've currently referred friends, and they've had the very same wonderful experience. So if you're tired of lengthy waits, poor service, or issues that never appear to get taken care of do yourself a favor and call The motor home Store. You will not be dissatisfied!.
You could be shocked to learn that your RV, traveling trailer, camper, or utility trailer requires extra frequent upkeep and inspection than a regular cars and truck or vehicle. RVs and trailers carrying devices or cargo are much larger than general car. This triggers extra tension on the components that make up the trailer.
Performing preventative maintenance on your trailer or Recreational vehicle is essential to conform with sector criteria, avoid failures, and remain risk-free as you travel.
Cargo Trailer Repair Anaheim, CA
Dealers regional to me do not have as excellent a selection on offered systems. Repair service division is excellent, and they have a rather large paint cubicle which is not usual (for motor home paint repair services)." Thomas "We required aid on our journey out to Colorado and drew in randomly.
OCRV Center
Address: 23281 La Palma Ave Yorba Linda, CA 92887Phone: (714) 909-1444
Email: art@ocrvcenter.com
OCRV Center
Really thoughtful with fantastic client solution. Helped us obtain back on the road safely. Melissa M. "Excellent people.
Travel Trailer Furniture Anaheim, CATrailer Roof Repair Anaheim, CA
Rv Trailer Service Near Me Anaheim, CA
Camper Floor Repair Near Me Anaheim, CA
Trailer Restoration Anaheim, CA
Cargo Trailer Repair Anaheim, CA
Horse Trailer Repair Near Me Anaheim, CA
Rv Trailer Repair Near Me Anaheim, CA
Rv Travel Trailer Repair Near Me Anaheim, CA
Travel Trailer Roof Replacement Anaheim, CA
Rv Trailer Service Near Me Anaheim, CA
Travel Trailer Furniture Anaheim, CA
Rv Trailer Repair Near Me Anaheim, CA
Cargo Trailer Repair Anaheim, CA
Rv Trailer Repair Near Me Anaheim, CA
Horse Trailer Repair Near Me Anaheim, CA
Travel Trailer Awning Replacement Anaheim, CA
Horse Trailer Repair Near Me Anaheim, CA
Travel Trailer Repairs Anaheim, CA
Cargo Trailer Repair Anaheim, CA
Fifth Wheel Repair Near Me Anaheim, CA
Trailer Floor Repair Anaheim, CA
Rv Trailer Repair Near Me Anaheim, CA
Camping Trailer Repair Near Me Anaheim, CA
Travel Trailer Ceiling Repair Anaheim, CA
Trailer Floor Repair Anaheim, CA
Camper Floor Repair Near Me Anaheim, CA
Travel Trailer Furniture Anaheim, CA
Travel Trailer Awning Replacement Anaheim, CA
Rv Trailer Repair Shop Anaheim, CA
Travel Trailer Furniture Anaheim, CA
Camper Trailer Service Anaheim, CA
Camper Floor Repair Near Me Anaheim, CA
Camper Floor Repair Near Me Anaheim, CA
Travel Trailer Service Anaheim, CA
Rv Trailer Repair Shops Near Me Anaheim, CA
Trailer Restoration Anaheim, CA
Travel Trailer Furniture Anaheim, CA
Travel Trailer Ceiling Repair Anaheim, CA
Rv Travel Trailer Repair Near Me Anaheim, CA
Fifth Wheel Repair Near Me Anaheim, CA
Travel Trailer Window Replacement Anaheim, CA
Trailer Roof Repair Anaheim, CA
Rv Trailer Repair Shop Anaheim, CA
Fifth Wheel Service Anaheim, CA
Trailer Floor Repair Anaheim, CA
Trailer Awning Replacement Anaheim, CA
Trailer Windows Replacement Anaheim, CA
Camping Trailer Repair Near Me Anaheim, CA
Camper Trailer Service Anaheim, CA
Camper Trailer Service Anaheim, CA
Trailer Restoration Anaheim, CA
Rv Trailer Repair Near Me Anaheim, CA
Trailer Awning Replacement Anaheim, CA
Rv Trailer Repair Shops Near Me Anaheim, CA
Rv Trailer Service Near Me Anaheim, CA
Camper Floor Repair Near Me Anaheim, CA
Travel Trailer Window Replacement Anaheim, CA
Rv Trailer Service Near Me Anaheim, CA
Travel Trailer Replacement Windows Anaheim, CA
Rv Trailer Repair Shop Anaheim, CA
5th Wheel Repair Near Me Anaheim, CA
Camping Trailer Repair Near Me Anaheim, CA
Fifth Wheel Repair Near Me Anaheim, CA
Travel Trailer Awning Replacement Anaheim, CA
Trailer Window Replacement Anaheim, CA
Travel Trailer Replacement Windows Anaheim, CA
Rv Trailer Repair Shops Near Me Anaheim, CA
Trailer Awning Replacement Anaheim, CA
Trailer Roof Repair Anaheim, CA
Rv Trailer Service Near Me Anaheim, CA
Travel Trailer Furniture Anaheim, CA
Travel Trailer Floor Repair Anaheim, CA
Travel Trailer Roof Replacement Anaheim, CA
Camping Trailer Repair Near Me Anaheim, CA
Trailer Window Replacement Anaheim, CA
Trailer Windows Replacement Anaheim, CA
Travel Trailer Floor Repair Anaheim, CA
Near My Location Seo Company Near Me Anaheim, CA
Affordable Seo Service Anaheim, CA
OCRV Center
Table of Contents
- – Travel Trailer Floor Repair Anaheim, CA
- – OCRV Center
- – Travel Trailer Service Anaheim, CA
- – Trailer Floor Repair Anaheim, CA
- – Trailer Roof Repair Anaheim, CA
- – Travel Trailer Roof Replacement Anaheim, CA
- – Cargo Trailer Repair Anaheim, CA
- – Travel Trailer Floor Repair Anaheim, CA
- – Travel Trailer Floor Repair Anaheim, CA
- – Travel Trailer Furniture Anaheim, CA
- – Cargo Trailer Repair Anaheim, CA
- – Rv Trailer Repair Shops Near Me Anaheim, CA
- – Cargo Trailer Repair Anaheim, CA
- – Cargo Trailer Repair Anaheim, CA
- – OCRV Center
Latest Posts
Sprinter Van Service Near Me Santa Ana
Rubber Roofing For Campers Pomona
Rv Air Conditioning Repair Corona
More
Latest Posts
Sprinter Van Service Near Me Santa Ana
Rubber Roofing For Campers Pomona
Rv Air Conditioning Repair Corona