All Categories
Featured
Table of Contents
- – Bathroom Remodel Companies Near Me Hayward, CA
- – United Constructors Inc.
- – Best Bathroom Remodelers Near Me Hayward, CA
- – Bathroom Remodelers Contractors Near Me Haywar...
- – Best Bathroom Remodelers Near Me Hayward, CA
- – Contractor For Bathroom Remodel Hayward, CA
- – Bathroom Shower Remodel Hayward, CA
- – Bathroom Remodelling Hayward, CA
- – Bathroom Remodels Near Me Hayward, CA
- – Bathroom Remodelers Close To Me Hayward, CA
- – Bathroom Remodelers Contractors Near Me Hayw...
- – Remodeling Bathroom Hayward, CA
- – Bathroom Remodelers Close To Me Hayward, CA
- – United Constructors Inc.
Bathroom Remodel Companies Near Me Hayward, CA
, it was a huge wow! Our home was constructed in 2000 so it still had the style from the 1990's.
We like to bath so having a tub was one more dispute. After looking and realizing I would require to spend upwards of $3000 for 2 vanities of any kind of high quality, the decision was made to give our current one's a transformation.
Making use of classic and traditional finishes in an upgraded means works best for our home. As a Do it yourself couple we can come up with ideas as we go.
Best Bathroom Remodelers Near Me Hayward, CA
Modern traditional interior layout style personifies just how I like our home to look and feel. Mixing old and brand-new in a straightforward, marginal method is precisely how what I love.
Our space at UNICO 20 87 had them and I enjoyed the look. Developing the tile mix for the shower went from there. Our rug in the bed room and wardrobe hallway is a beige color. It was essential to me, as it ought to be, those tile shade tones matched up with the carpeting.
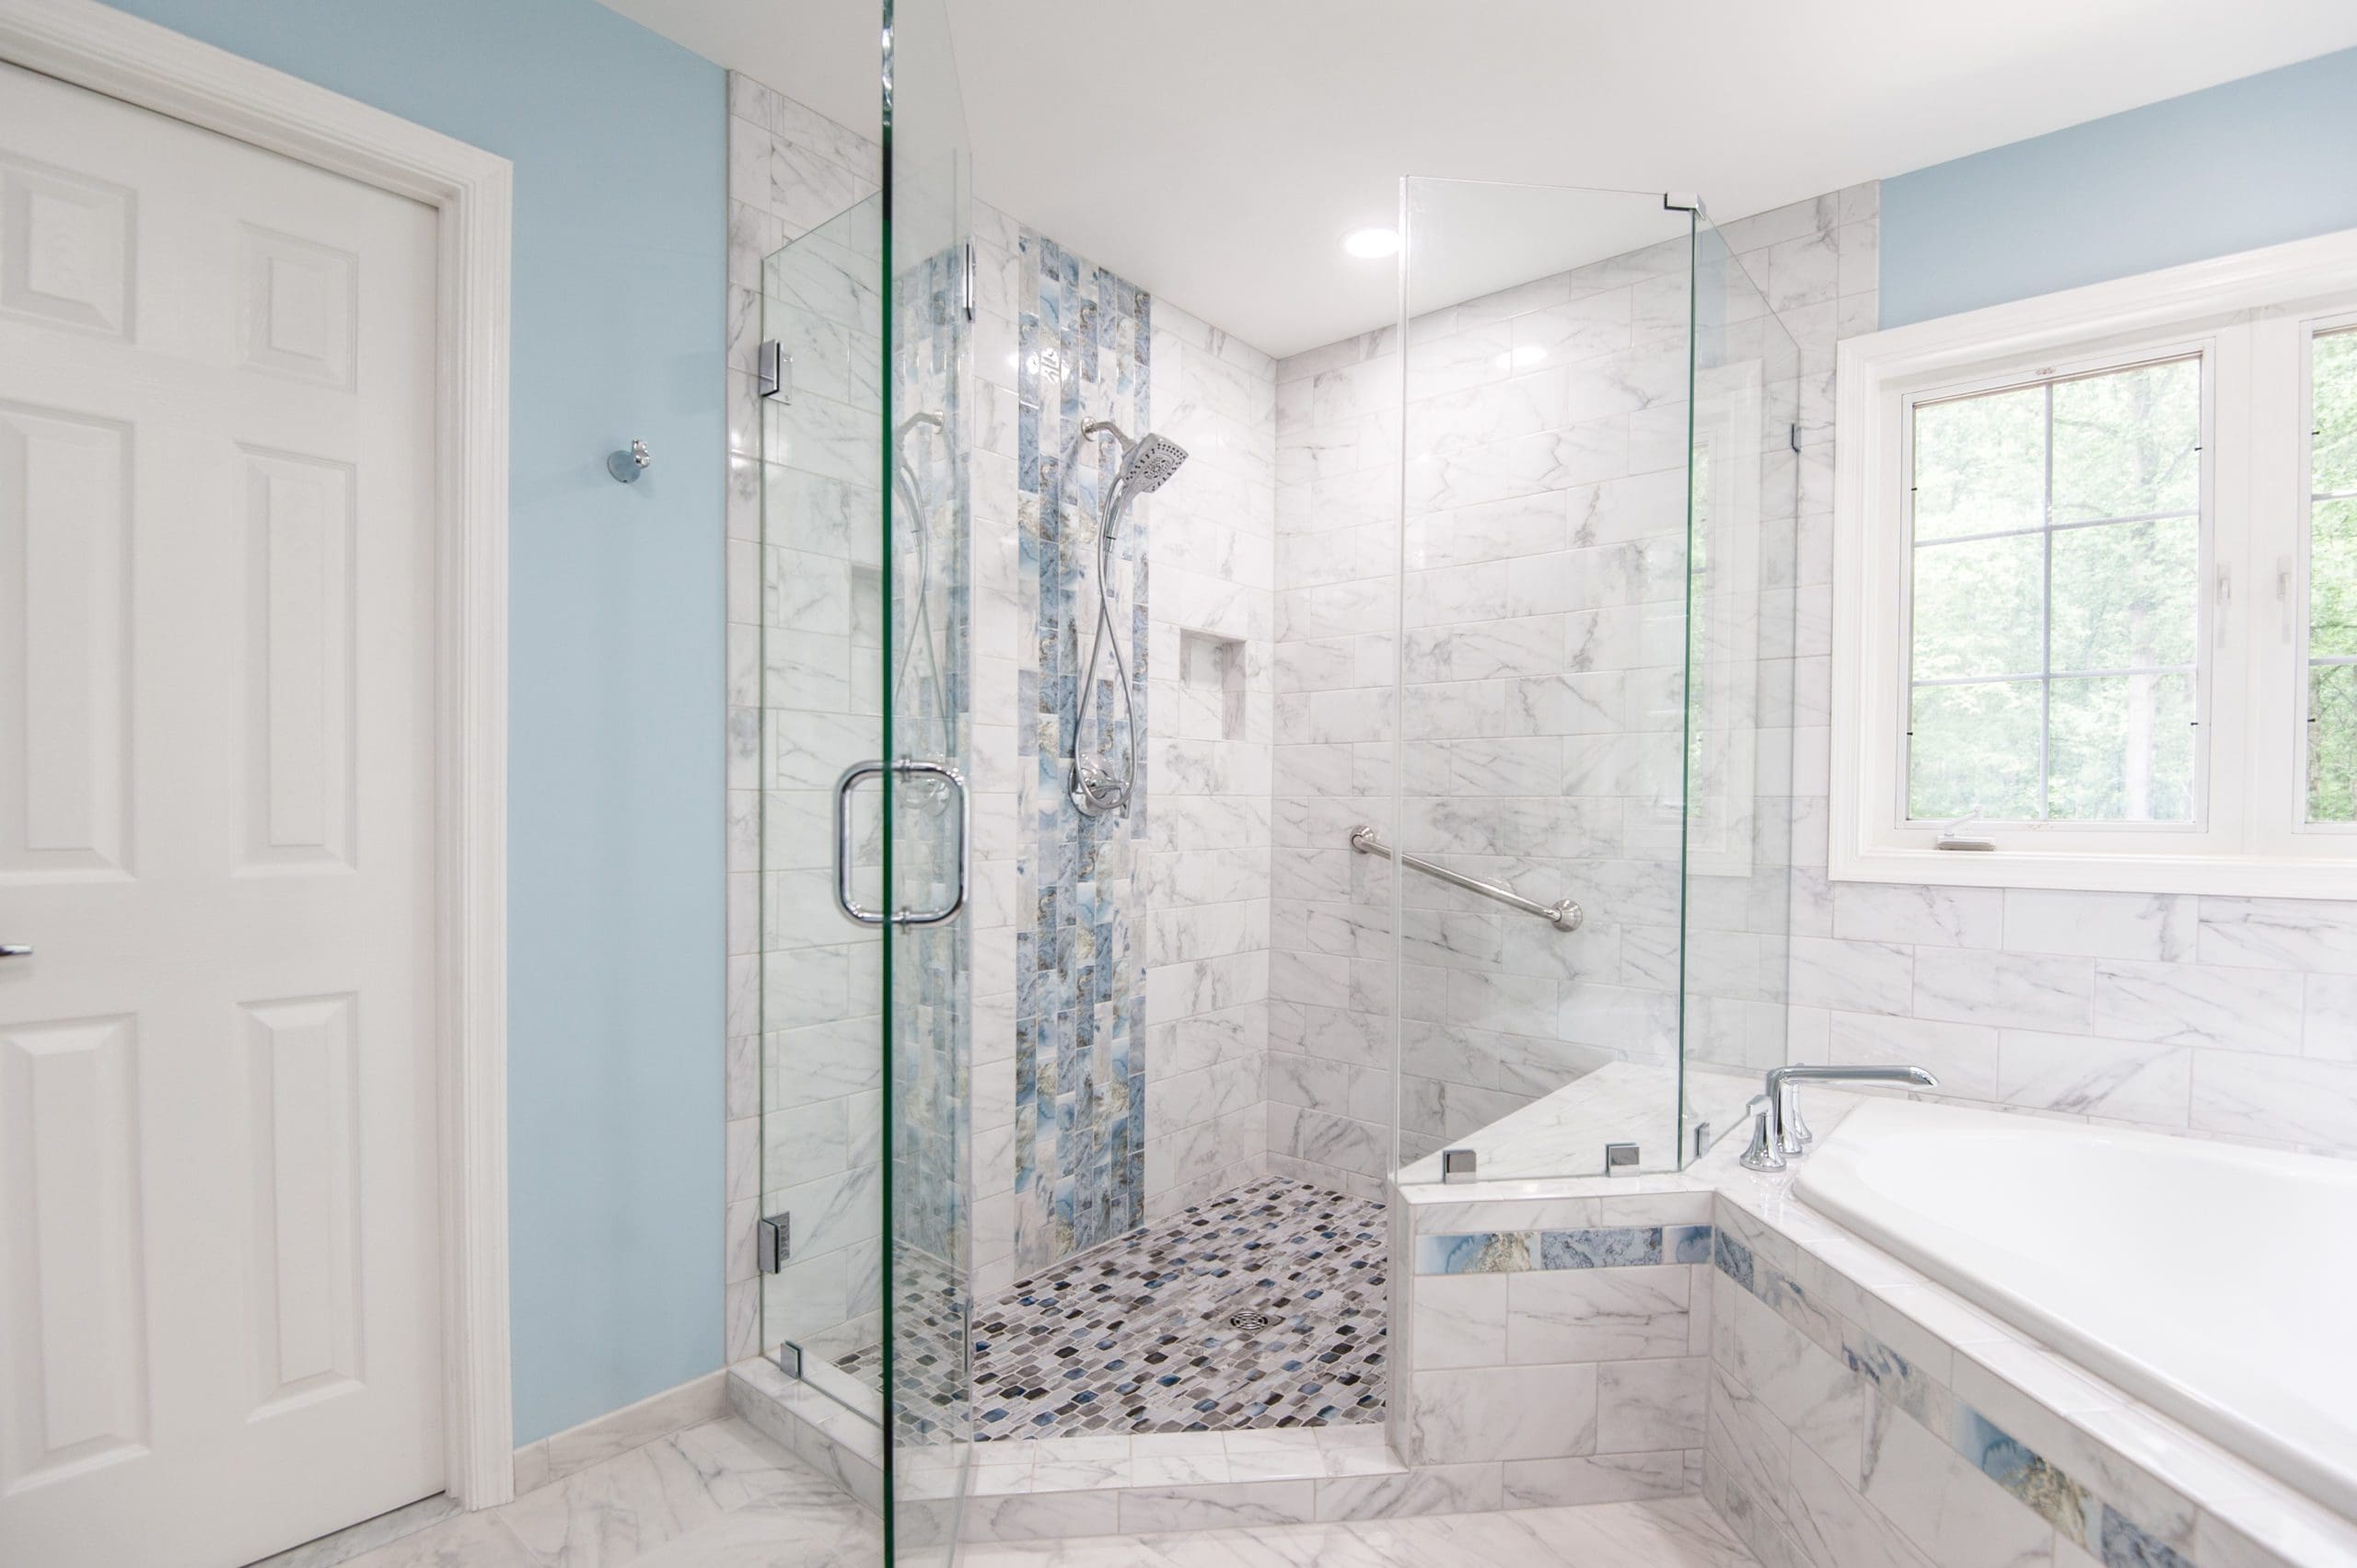
For the shower, I didn't want a product particular niche, I wanted the walk. When we removed the shower insert and the adjoining wall surface, we were able to broaden the shower to a 4 x 4 foot area.
Bathroom Remodelers Contractors Near Me Hayward, CA
The paint color and wall surface detail provided them the wow variable I was hoping. It was Ray's imaginative idea to make use of a rack bracket for the front detail.
The average expense for a primary washroom remodel noted on This Old House internet site is $10,000-$30,000. Free standing tub $850 Tub fixtures $756 Pocket Door $550 Shower Components (Brizo Necessary Series) $1198 Flooring and Decoration (floor tile and tiling products) $1800 Glass door mounted (the only thing we couldn't DIY) $1680 Paint and primer $350 Paint sprayer (talented) Contractors straight (Schluter system, water proofing, heated electric floor, thermostat) $1400 Ceiling timber from Floor and Style $800 Materials (bead board, wood, devices, pipes $1924 Creating a restroom that was spacious, health spa like but still fit within our modern-day typical home style was the goal.
The below photo is me standing in the shower to give you a great view of just how it looks from there. We really do not such as to mount ceramic tile, mainly on the flooring and we intend to never do it once again. So simply possibly, we might pay somebody following time for that part.
Best Bathroom Remodelers Near Me Hayward, CA
We do live in a neighborhood so leaving it appeared natural. Looking onward to warm floors come winter time. When day we will certainly replace the sink faucet to match the remainder of the remainder of the Brizo line. That would certainly call for new countertops as well and I simply don't assume it deserves it now.
Washroom remodellings are a popular home renovation project that can make your restroom much more comfortable, practical, and visually pleasing. A fresh layer of paint is the quickest and most budget-friendly method to transform your restroom, providing an instant refresh without significant remodelling costs.
Contractor For Bathroom Remodel Hayward, CA
Keep your washroom's style in mind when choosing a shade plan. You can't go incorrect with neutral tones if you want something timeless. You can evaluate the paint on a little area of wall surface before devoting.
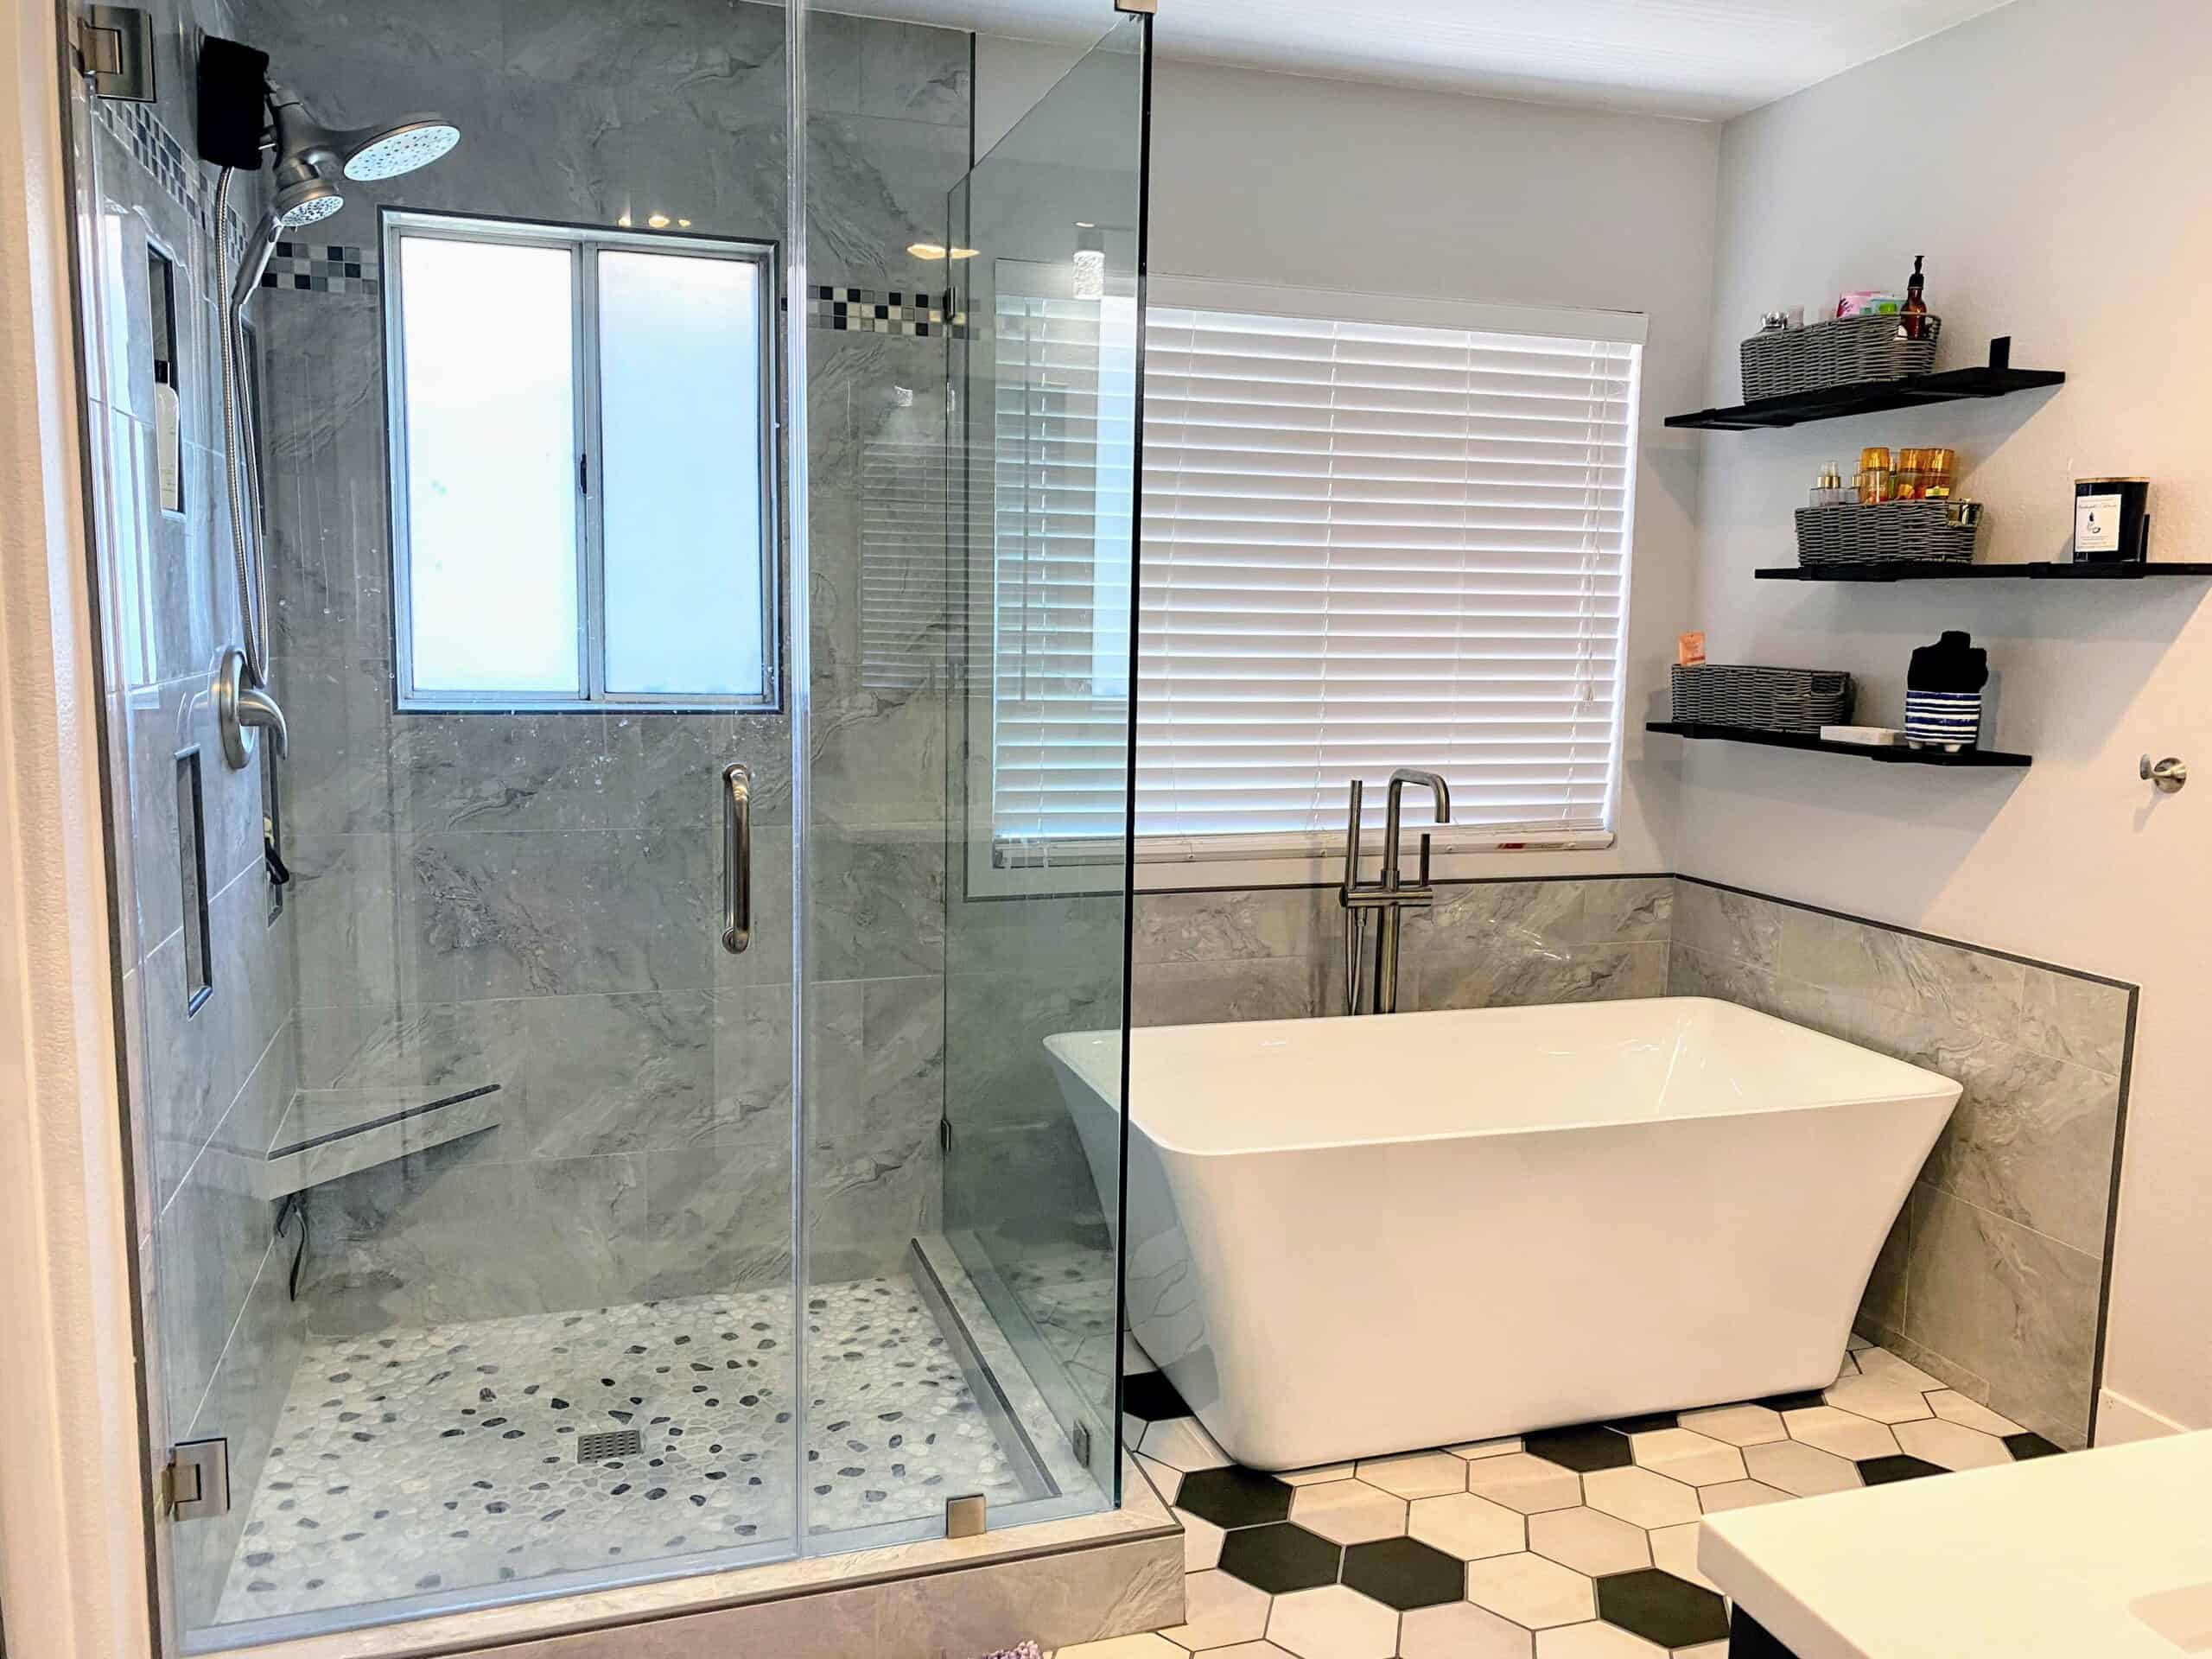
Hang a crawler plant, philodendron, pothos, or fern on the shower's much side, ensuring they don't gather too much water. There are several techniques to upgrade your bathtub, relying on your budget and preferences. If you want a brand-new model, freestanding bathtubs are elegant and classic. The clawfoot tub's classic glam might not be everyone's style, however there are lots of modern-day layouts, such as rectangular or oblong, to use as your washroom's focal point.
Accent wall surfaces attract focus to a location in the room that you intend to highlight while showcasing your personal design. Your centerpiece can be behind the tub, on the back wall, or above the vanity. An accent wall in a tiny bathroom might make the area feel also smaller and much more disjointed, but you can still include aesthetic interest by going with an accent ceiling.
Add upright cupboards next to the vanity to save your towels if you have the spare room, or use vertical area to take benefit of floating racks. You can include an over-the-toilet storage shelf or open shelving beneath the sink as a reliable storage space choice. After years of usage, your shower room's pipes fixtures can start to experience from countless problems.
Bathroom Shower Remodel Hayward, CA
These are a few of the most pricey shower room improvements, however it's a wise investment if your home's systems are old, obsolete, or not operating correctly. This can help prevent future problems and boost your home's power performance. Bathroom Remodeler Near Me Hayward. Home owners can finish remodellings by themselves relying on their skills, experience, and the task's range and complexity
Easy jobs such as paint, setting up components, or upgrading cabinet equipment are within many house owners' capabilities. Pipes and electrical work, or those that call for knowledgeable woodworking, are best left to pros. Not just do professionals have the needed tools, yet they likewise have the know-how to finish these tasks safely and appropriately.
Bathroom Remodelling Hayward, CA
When in doubt, opt for a neutral color combination. This will guarantee your bathroom remains ageless. Developers say that tones of blue, light green, and warmer neutral tones are the most effective bathroom colors for 2024. Various other shower room trends consist of beige and all-white shower rooms. Porcelain and ceramic floor tiles are most typically located in shower rooms.
The task turns into a full-blown bathroom remodelling that everyone is excited concerning and you should finish. Fortunate for you, I've obtained every phase of the remodel covered, with a lot of pointers to keep you within budget and on timetable. Disclosure: This message includes some associate web links or recommendation links for your ease.
Before you can transform any kind of space, you need to demo the area or eliminate all unwanted items. The very first thing I did was to dig out all the silicone around the bath tub, trim, walls, and anywhere else it was situated.
Bathroom Remodels Near Me Hayward, CA
Next off, I disconnected the drain from the sink and placed a towel in the opening to avoid any kind of scents from appearing. After detaching every little thing, we dismantled them from the areas (the old sink, toilet, trim, baseboard, shelves, etc). We were ready to demo the ceramic tile. We utilized our convenient Rotating Hammer drill to get rid of the floor tiles from the floor.
Do not ask exactly how I understand this We uncovered some repair work that the previous proprietors had made with the last washroom remodelling, which were not the very best. To remedy them, we had to remove locations around the tub. And after the demonstration, we were entrusted to this: At this point, we were left with extremely damaged walls.
I mounted a slim layer (1/4) of a subfloor sheet on top of the old subfloor to offer us a smooth, flat surface area. We were additionally able to lastly open our new window to the area. SIDE KEEP IN MIND: There were 2 windows, the old metal one and after that the new plastic one.
There was one on the outside and one on the within to offer you a double-pane window. Revealing the window suggested that I can ultimately protect it by filling out the spaces around the window with broadening foam. Next off, I cleaned up the bath tub to eliminate all the thinset deposit. I did this by spraying bath tub cleaner onto the area and allowing it to establish for a couple of mins.
Bathroom Remodelers Close To Me Hayward, CA
After, I covered the holes in the walls with drywall and repaired the harmed plaster wall surfaces. SIDE NOTE: You can see the full in this message. The procedure coincides if you are patching and repairing drywall too! I also had the opportunity to upgrade the illumination in the restroom, which was my hubby's requirement with the shower room restoration.
I love these since you can install them anywhere (they are canless), you can adjust the illumination color, and they are ultra slim. This, I topped and painted the bathroom. And now, it was ready for the new tile and waterproofing! Whenever you tile a flooring, you need to set up an underlayment.
Once the ceramic tiles had actually cured for 1 day, I proceeded to mounting the grout. Amusing enough, I find grouting to be extremely relaxing. Click the link to find the complete tutorial on just how to grout flooring ceramic tiles. After mounting the water-proof membrane layer on the flooring, I mounted the shower wall surface waterproofer.
If you're asking yourself just how to install this waterproofer, click this link to see how to waterproof bath tub shower wall surfaces over drywall. After the waterproofing membrane layer had cured for 24-hour, I relocated on to tiling the shower wall surfaces. And right here are all my pointers for tiling a tub border. I finished off the tub floor tile job by grouting the shower tiles, which consists of securing the floor tiles and installing silicone.
Bathroom Remodelers Contractors Near Me Hayward, CA
You can see the complete process by clicking the web link. At this moment, the bathroom awaited the attractive items. This consisted of installing drifting racks (I have a tutorial on setting up floating racks over tile). We likewise purchased a tiny sink from Ikea due to how tiny of space we had.
About $1,000 of that was for the flooring and wall surface floor tiles. And we recycled our bathtub, tub tap (which was only a year old), commode, and vanity mirror.
When the tiles had healed for 24 hours, I moved on to setting up the grout. After installing the water-proof membrane on the flooring, I set up the shower wall waterproofer.
If you're wondering exactly how to mount this waterproofer, click this web link to see exactly how to waterproof tub shower walls over drywall. After the waterproofing membrane had actually cured for 24 hours, I moved on to tiling the shower wall surfaces. And right here are all my tips for tiling a tub border. Lastly, I finished off the bath tub tile task by grouting the shower tiles, which includes sealing the tiles and mounting silicone.
Remodeling Bathroom Hayward, CA
You can see the full procedure by clicking the link. At this moment, the shower room awaited the ornamental items. This consisted of installing floating racks (I have a tutorial on setting up floating shelves over ceramic tile). We also acquired a small sink from Ikea due to just how tiny of space we had.
Concerning $1,000 of that was for the floor and wall ceramic tiles. And we recycled our bath tub, bath tub tap (which was only a year old), commode, and vanity mirror.
Once the tiles had actually cured for 24 hours, I moved on to installing the cement. After installing the waterproof membrane on the floor, I installed the shower wall waterproofer.
Bathroom Remodelers Close To Me Hayward, CA
After the waterproofing membrane had cured for 24 hours, I relocated on to tiling the shower walls., which includes securing the ceramic tiles and setting up silicone.
You can see the complete process by clicking the web link - Bathroom Remodeler Near Me Hayward. At this point, the restroom was all set for the attractive pieces.
United Constructors Inc.
Address: 1251 Stone Valley Rd Alamo, CA 94507Phone: (925) 234-9023
Email: cash@builduci.com
United Constructors Inc.
About $1,000 of that was for the floor and wall floor tiles. And we recycled our bath tub, tub faucet (which was only a year old), commode, and vanity mirror.
Remodeling Bathroom Contractors Hayward, CABathroom Remodeler Near Me Hayward, CA
Contractor For Bathroom Remodel Hayward, CA
Remodeling Bathroom Contractors Hayward, CA
Remodeling Small Bathrooms Hayward, CA
Bathroom Remodel Company Hayward, CA
Luxury Bathroom Remodel Hayward, CA
Bathroom Remodeler Near Me Hayward, CA
Remodeled Bathrooms Hayward, CA
Bathroom Remodelers Contractors Near Me Hayward, CA
Bathrooms Remodeling Hayward, CA
Bathroom And Remodeling Hayward, CA
Bathroom Remodel Company Hayward, CA
Bathroom And Remodeling Hayward, CA
Contractor For Bathroom Remodel Hayward, CA
Bathroom Remodelers Near Me Hayward, CA
Bathroom Remodeling Contractors Near Me Hayward, CA
Contractor For Bathroom Remodel Hayward, CA
Bathroom Remodeling Contractor Near Me Hayward, CA
Remodeling Bathroom Contractors Hayward, CA
Contractors For Bathroom Remodel Hayward, CA
Remodeling Bathroom Contractors Hayward, CA
Bathroom Remodelers Contractors Near Me Hayward, CA
Bathroom Remodeling Contractors Near Me Hayward, CA
Bathroom Shower Remodel Hayward, CA
Bathroom Remodels Near Me Hayward, CA
Bathroom Remodel Company Hayward, CA
Bathroom Tub Remodel Hayward, CA
Best Seo Package Hayward, CA
Local Seo For Law Firms Hayward, CA
Bathroom Remodeler Near Me Hayward, CA
United Constructors Inc.
Table of Contents
- – Bathroom Remodel Companies Near Me Hayward, CA
- – United Constructors Inc.
- – Best Bathroom Remodelers Near Me Hayward, CA
- – Bathroom Remodelers Contractors Near Me Haywar...
- – Best Bathroom Remodelers Near Me Hayward, CA
- – Contractor For Bathroom Remodel Hayward, CA
- – Bathroom Shower Remodel Hayward, CA
- – Bathroom Remodelling Hayward, CA
- – Bathroom Remodels Near Me Hayward, CA
- – Bathroom Remodelers Close To Me Hayward, CA
- – Bathroom Remodelers Contractors Near Me Hayw...
- – Remodeling Bathroom Hayward, CA
- – Bathroom Remodelers Close To Me Hayward, CA
- – United Constructors Inc.
Latest Posts
Santa Ana Dental Insurance Seniors
Health Insurance For Seniors Over 60 Garden Grove
Dana Point Best Supplemental Insurance For Seniors
More
Latest Posts
Santa Ana Dental Insurance Seniors
Health Insurance For Seniors Over 60 Garden Grove
Dana Point Best Supplemental Insurance For Seniors